Stepping into the first realm of video editing for the first time can be a little daunting at first, but if approached properly with the foundations in place, it is very much possible to be an invigorating and highly creative process. Therefore, no matter if you intend to make your YouTube content better, create engaging videos for social media, or simply receive fresh knowledge, mastering video editing may really be one of the key opportunities for you to boost your presence in the digital world. This article makes accessible key tips from veteran editors that all beginners need to navigate the landscape of video editing much easier.
“It has to be about a story. It needs a beginning, a middle, and an end.”
Zach King

Organize Your Workflow
Video editing tip for beginners no.1: “Start by Organizing”
Before diving into any editing software, start putting your content in place. Create a specific folder on your computer for each project. Label the date and title of the project for easy reference. Inside this folder, create subfolders of that kind of footage—generally called A-roll (your main shot) and B-roll (your extra footage).
Tip: If storage is an issue, invest in an external Solid State Drive (SSD) for fast additional storage. This will not only save your internal storage from getting cluttered but will also save your workflow from clunky, jarring transitions.
Choose Your Editing Software Wisely
Choose User-Friendly Software: For starters, the balance of features and user-friendliness in software is something that beginners should opt for. Since both serve as a screen recorder and video editor, Camtasia would probably be one of the first places one would look. Available on both PC and Mac, the interface is pretty easy to understand for novices who are trying to venture into video editing.
You can learn more about video editing software here.
Setting up your edit, import, and save correctly
after organizing your footage, import it into the editing software you have chosen to work with. Keep in mind that the project file is recommended to be saved right into the same folder where your footage resides. This makes for an efficient consolidation in management and backup of your work.
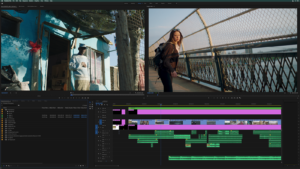
Editing Techniques Trim or Split, Trim, and Splice
A game of choice in editing is selecting the best parts of your footage. Get to know the program that you are using; maybe it’s a splice or split tool. Trim away all those unnecessary parts, including errors and pauses, for an engaging piece of content.
Once you become more familiar with your video editing program, you can start to play with more advance editing techniques.
Reverse Editing
A fun technique would be to reverse-edit your footage, starting at the end. This becomes helpful, especially considering that very often, the best takes are usually the last ones; you are therefore ensured of not missing your best footage.
Film Composition Examples
Within this FREE PDF, you will discover:
- film composition examples in movies
- how filmmakers employ composition techniques
- how to create unforgettable cinematic experiences

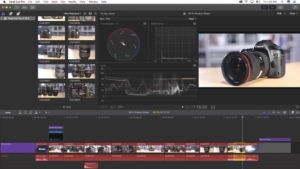
Editing Your Video—Adding B-roll
The B-roll adds depth to your story and offers visual variety and underlying backing support for your A-roll. For those unable to shoot their own B-roll, stock footage is a valuable resource. You can find some free footage in Canva, check how here.
For the A-roll, consider searching on stock video websites for the appropriate clips.
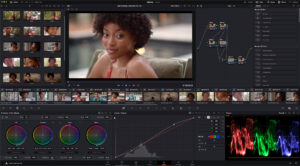
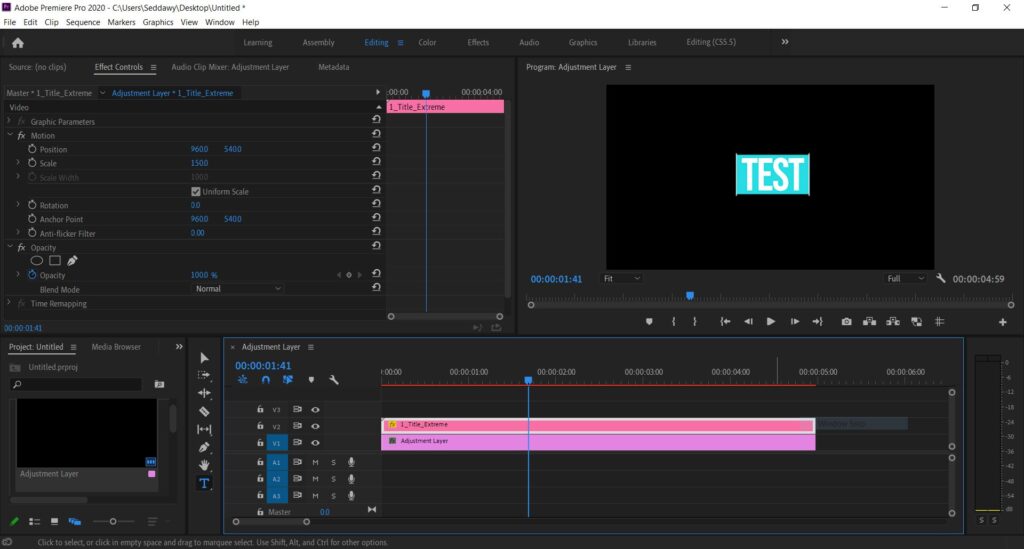
Adding Texts and Graphics
This is the area where text overlays and graphics can help a video get a visual breather and even create some emphasis. Almost all of the modern editing software has templates and presents that you can use on your text. It becomes extremely easy to maintain the consistency of the video.
Finalizing Your Video: Review Before Exporting.
Finally, once you are done with everything, review it before you actually export the file. Look for mistakes, from editing errors to text typos. Before exporting, make sure your video is polished for a very professional result.
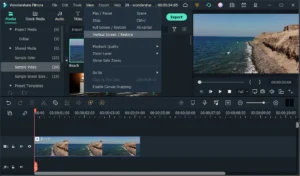
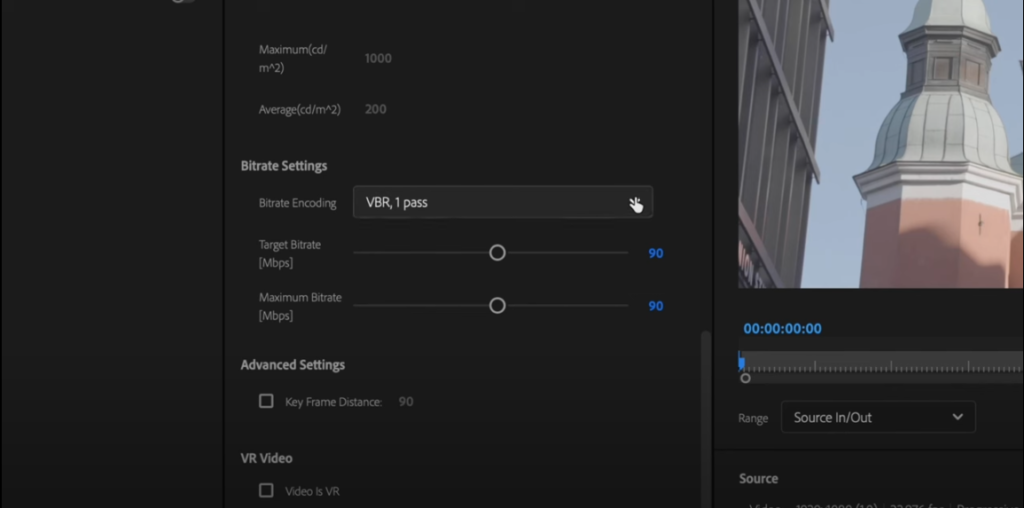
Exporting and Rendering
You have to configure your export settings accordingly with what your original quality footage has. If you are to export the video in 4k resolution, then export it in 4k resolution. Consistency in frame rate and resolution will only ensure the quality of the final product. You can even find some of editing software, such as Camtasia, allowing video exportation directly into your YouTube account without an intermediary export to your desktop and later upload from there.
Here you can find an article with the best export setting for high-quality videos in Premiere Pro.
Video Editing Tips for Beginners Conclusion
In conclusion, video editing is an art, no doubt, and it is also a skill developed over time through experience, patience, and persistence. Organize your workflow, choose the right tools, and apply basic editing techniques. Each video created is just one more step to get better. Always try to make it 1% better in every project, so always keep experimenting with techniques such as adding music or advanced visual effects when you become more capable in your editing skills. Hope these video editing tips for beginners were useful. Happy editing and see you next!
Also, if you wonder how to become a video editor, check out these free online courses.
Film Composition Examples
Within this FREE PDF, you will discover:
- film composition examples in movies
- how filmmakers employ composition techniques
- how to create unforgettable cinematic experiences

Explore related content

Video Editing Tips CapCut: Tips, Tricks, and Techniques
Video editing is an art, and there are proper tools and techniques, through them everybody… Read More »Video Editing Tips CapCut: Tips, Tricks, and Techniques

Factors to Consider Before Buying a Video Editing Computer
From helping grow your brand and business to editing just for fun with the love… Read More »Factors to Consider Before Buying a Video Editing Computer

Best Video Editing Monitors in 2024
In the evolving world of video production, the importance of a high-quality monitor cannot be… Read More »Best Video Editing Monitors in 2024