
Getting Started with Editing Videos on Iphone with iMovie
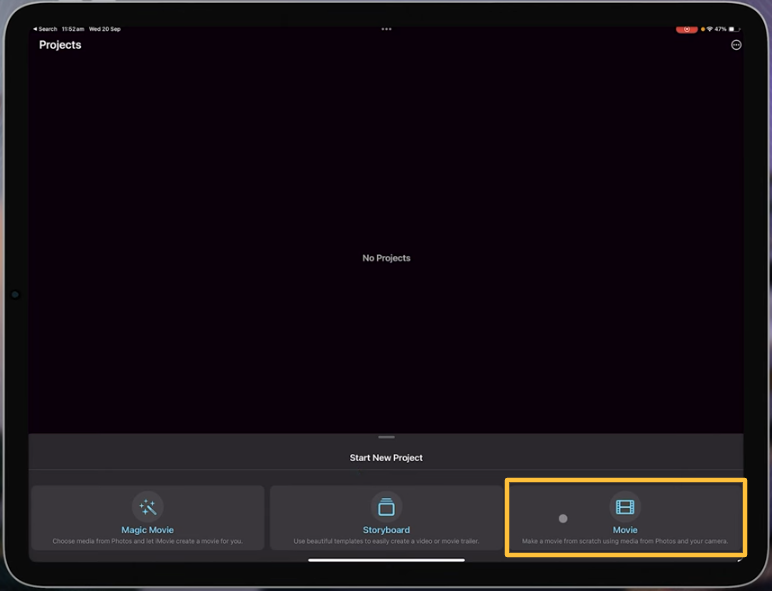
When you open the iMovie, the screen will represent three project choices: Magic Movie, Storyboard, and Movie. So, to be at full liberty, choose a Movie. That is to say, you are free to import your footage, which you will later edit as exactly preferred. Therefore, you would scroll through your library and tap the “Create Movie” button. Familiarizing Yourself with the Interface.
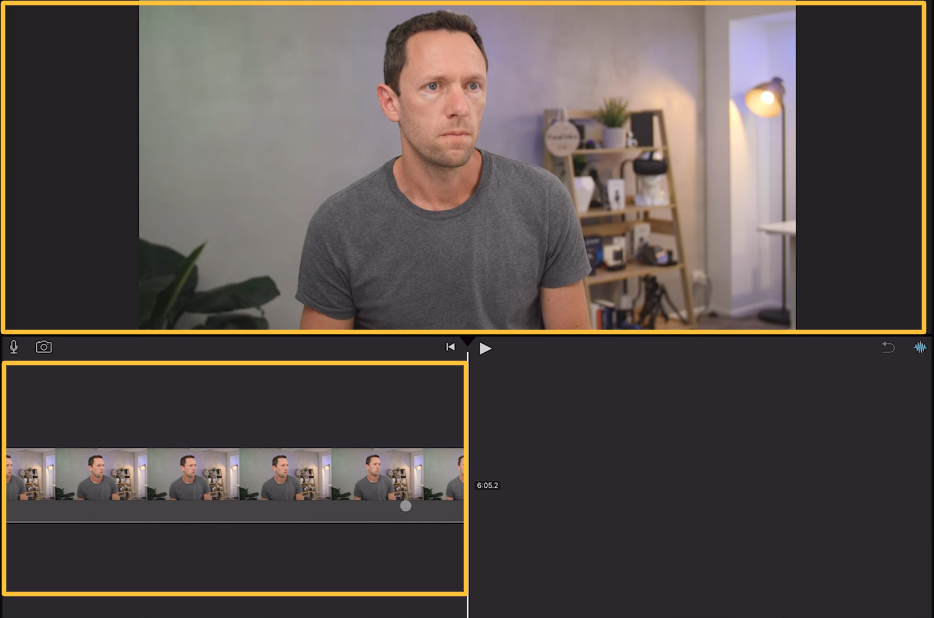
The iMovie interface is split into three main sections:
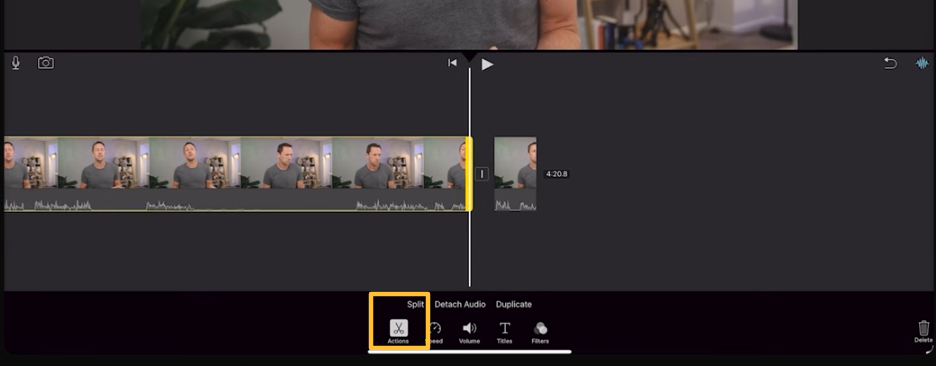
Trimming and Splitting Your Footage
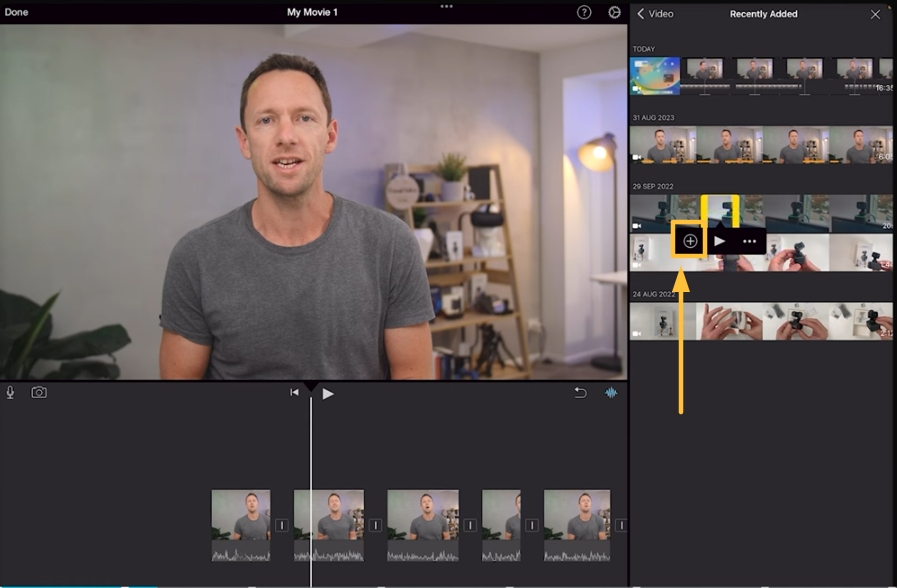
Adding B-Roll or Overlay Footage
Incorporating Titles and Text
You can further adjust fonts, colors, and positioning to fit your video’s theme.

Film Composition Examples
Within this FREE PDF, you will discover:
- film composition examples in movies
- how filmmakers employ composition techniques
- how to create unforgettable cinematic experiences

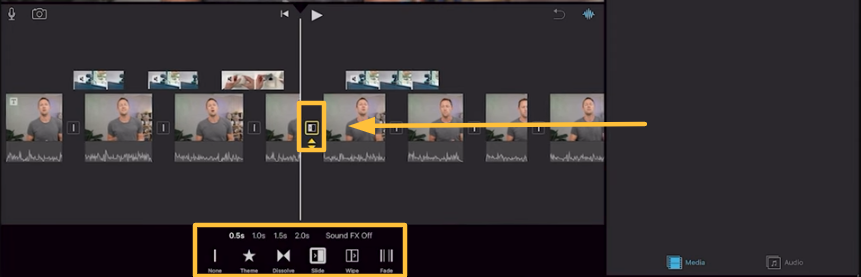
Transitioning Between Clips
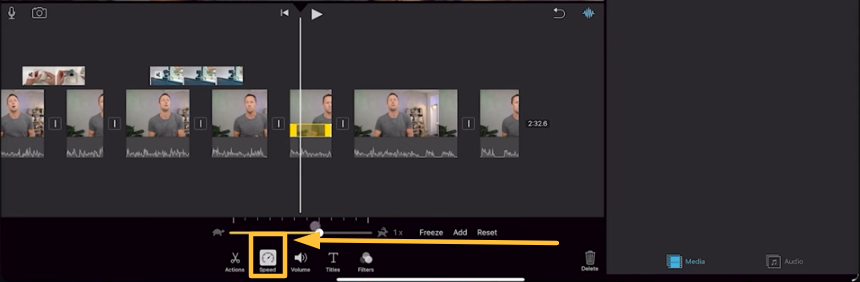
Utilizing Effects and Adjustments
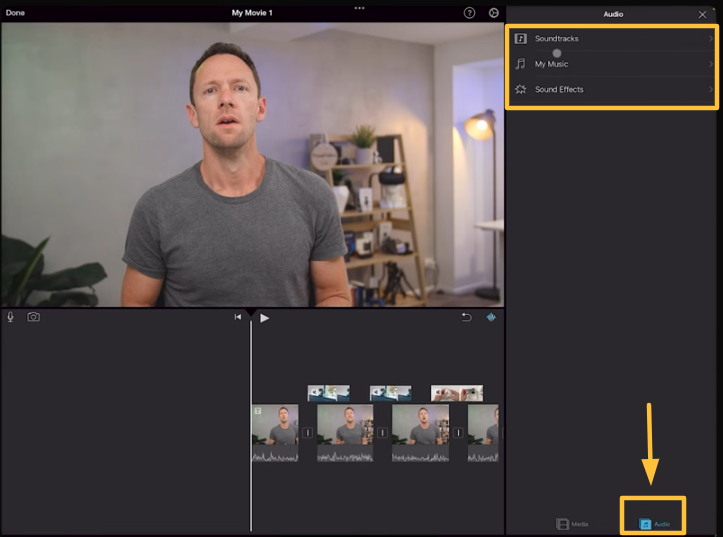
Adding Music and Sound Effects
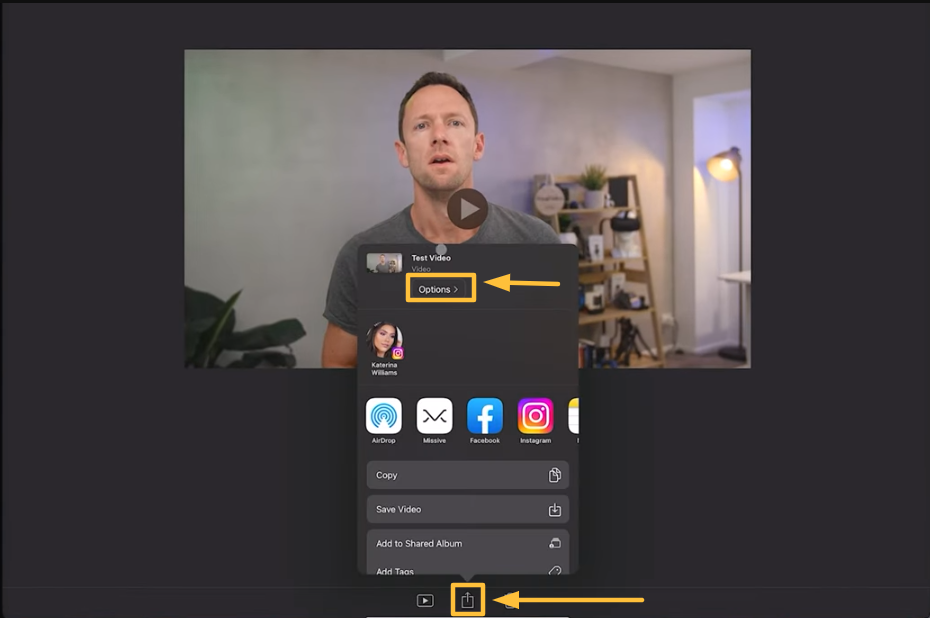
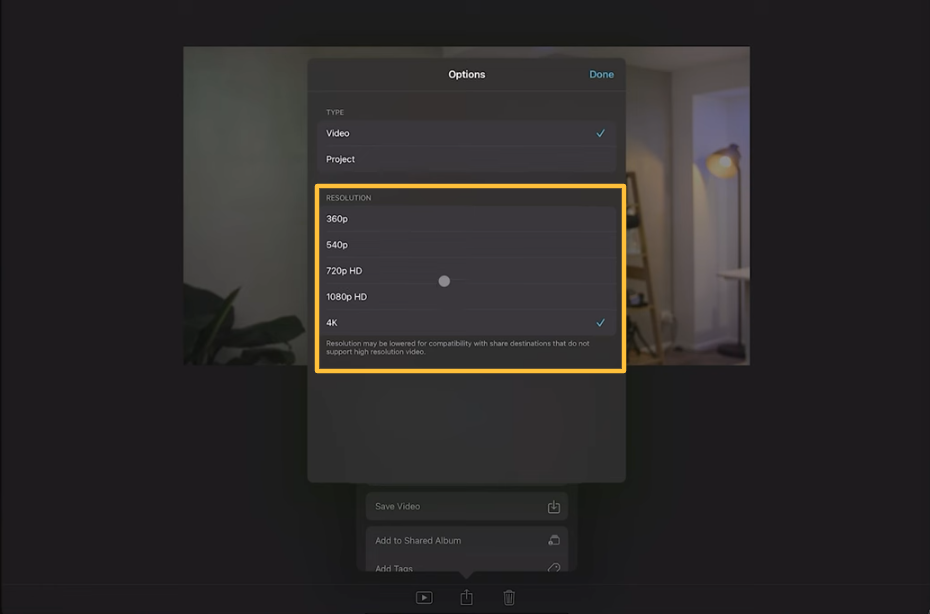
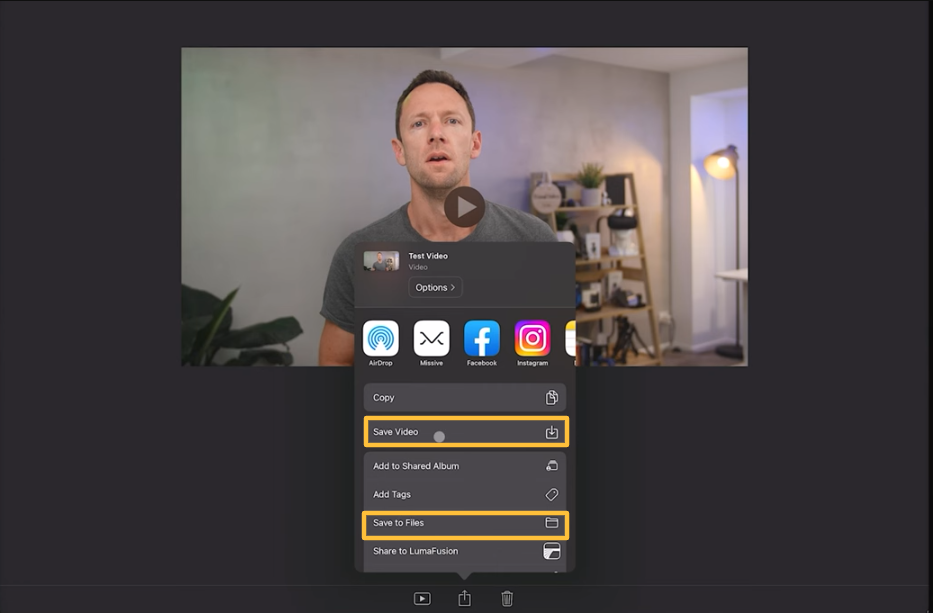
Finalizing Your Project
How to Edit Videos on iPhone Conclusion
Film Composition Examples
Within this FREE PDF, you will discover:
- film composition examples in movies
- how filmmakers employ composition techniques
- how to create unforgettable cinematic experiences

Explore related content

Video Editing Tips CapCut: Tips, Tricks, and Techniques
Video editing is an art, and there are proper tools and techniques, through them everybody… Read More »Video Editing Tips CapCut: Tips, Tricks, and Techniques

Factors to Consider Before Buying a Video Editing Computer
From helping grow your brand and business to editing just for fun with the love… Read More »Factors to Consider Before Buying a Video Editing Computer

Best Video Editing Monitors in 2024
In the evolving world of video production, the importance of a high-quality monitor cannot be… Read More »Best Video Editing Monitors in 2024